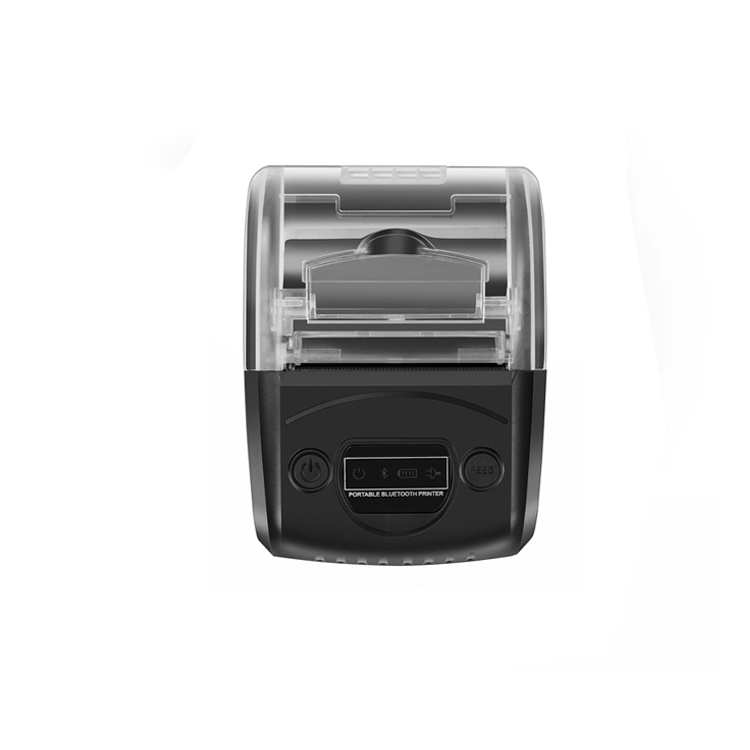
Wholesale 58mm thermal receipt printer with Interface USB/BT-MINJCODE
Wholesale 58mm thermal receipt printer
- Paper sensor: LED indicator flashes when come to paper end meanwhile alarm;
- Printing Command: ESC/POS compatible with commands set;
- Power: 1800mAh rechargeable li-ion battery;
- Support android and windows devices/IOS
- Support any language,Bluetooth V4.0,Easy paper loading
- Good quality with competitive cheap price.Supermarket/Shop bill printer
Product Video
Specification Parameter
| Type | MJ5808 Blue tooth Thermal Receipt Printer |
| Printing Method | Thermal Line Printing |
| Print Speed | 80mm/sec |
| Reliability TPH Life | 50KM |
| Resolution | 203DPI(8dot/mm) |
| Printing Width | 48mm |
| Paper With | 57±1.0mm |
| Battery | Rechargeable lithium batteries:7.4V/1500mAh |
| Character Size | 24×24/12×12 dot pattern |
| Fonts can be magnified by 2 to 8 times. | |
| Print dot pattern, the maximum width of image is 376 pixels | |
| Interface | Standard: RS232/USB, Blue tooth 2.0 Optional: Bluetooth 4.0, SPP agreement or infrared/IRCOMM agreement |
| Interfaces | USB, USB virtual serial port, RS232, KBW |
| Print Command | Compatible ESC/POS/STAR command |
| Dimension | 115mm*84mm*46mm |
| Net Weight | 120g |
how to install 58mm thermal receipt printer?
Start by unpacking the bluetooth thermal printer and all its components, such as the power cord, interface cable and driver software.
Connect the power cord to the printer and plug it into a nearby power outlet.
Connect the interface cable to the printer and computer. The interface cable is usually a USB cable. It can also be a serial or parallel cable, depending on your printer model.
Install the receipt printer driver software on your computer. The manufacturer usually includes the driver software on the CD that came with the printer. If you prefer, you can download it from the manufacturer's website. Be sure to follow the instructions carefully to successfully install the driver.
Once you have installed the driver, you can test the printer by printing a test page. On a Windows computer, you can do this by going to Start and navigating to Devices and Printers. Right-click the printer, select Printer Properties, and then click the Print Test Page button. On a Mac, you can do this by going to System Preferences and navigating to Printing and Scanning. Select the printer and click the Open Print Queue button. Finally, click the Print Test Page button.
If the test page prints correctly, you have successfully installed and set up the printer. If you have any problems during the installation process, or if the printer is not working properly, refer to the printer documentation. Alternatively, you can contact the manufacturer for support.
Other Thermal Printer
Types of POS Hardware
Why Choose Us As Your Pos Machine Supplier In China
POS Hardware For Every Business
We’re here whenever you need to help you make the best choices for your business.


